

Ever stare at a plain tee and wish it looked perfectly broken-in? Same. If you searched how to mineral wash t shirt, you probably want that vintage feel without ruining your favorite top.
You’ll get clear steps for how to mineral wash t shirt at home, when to try how to mineral wash a black t shirt, a quick take on mineral wash vs acid wash, a simple DIY mineral wash t shirt workflow, and a beginner-friendly mineral wash t shirt tutorial.
And yes, I’ll keep it simple and real. In this companion, you’ll learn the exact setup, safe rates, and pattern ideas that always work. I’ll show you what to do, what to avoid, and how to fix miscalculations presto. By the end, you’ll feel confident turning introductory shirts into soft, unique pets that look naturally lived- in.
Mineral-wash decoded: what people really mean vs acid, stone, and vintage
Most people use “mineral wash” to describe a cloudy, gently faded look, often done with diluted bleach at home. Brands may achieve it with different chemistry, but the home method mimics that vibe safely and cheaply.
The key is understanding how mineral wash vs acid wash, vintage wash, and stone wash differ in look and mineral wash process.
“Acid wash” started in denim with pumice stones and chemicals that lift color in patches. “Stone wash” is mechanical—abrasion and friction create overall fading. “Vintage wash” is more of a soft, uniform fade and hand-feel.
A DIY “mineral” approach usually uses mineral wash fabric principles with diluted bleach and controlled exposure.
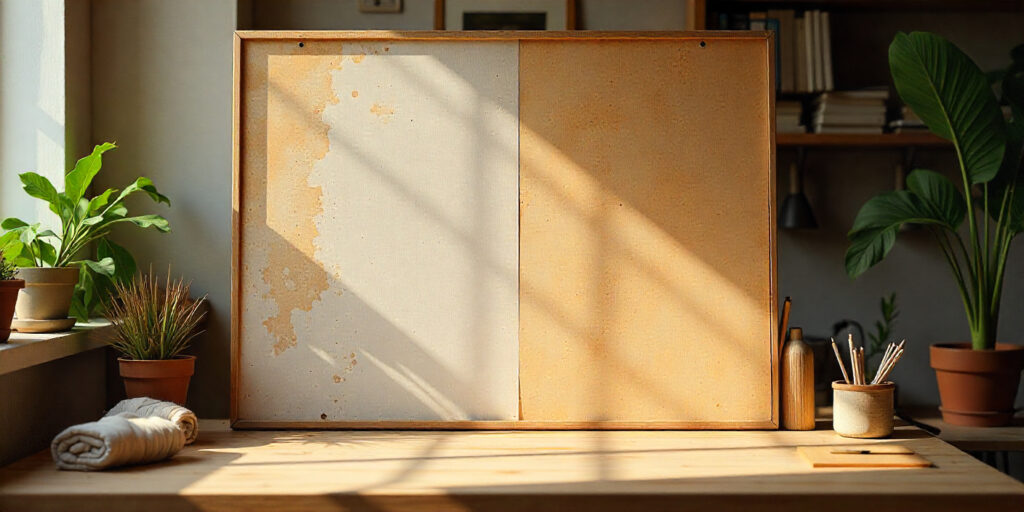
Still, mineral- suchlike pattern, suppose gentle discrepancy with soft transitions, If you want a cloudy. Avoid hard edges and harsh lines unless you want a high- discrepancy tie- color. Keep effects subtle and unremarkable.
That mindset helps you nail mineral wash vs acid wash, a modern vintage wash, and even a mellow stone wash-like finish.
At home, the goal is consistency and safety. Start mild, test, and scale. With smart dilution and timing, you’ll get that worn-in look on cotton tees without damaging fibers. Treat it like a controlled mineral wash process on the right mineral wash fabric every time.
Loved learning how to mineral wash t shirt? Discover if your tee fits right in our guide on how to know if t shirt is too small.”
Fabric matters: choosing cotton, blends, and weight for the best fade
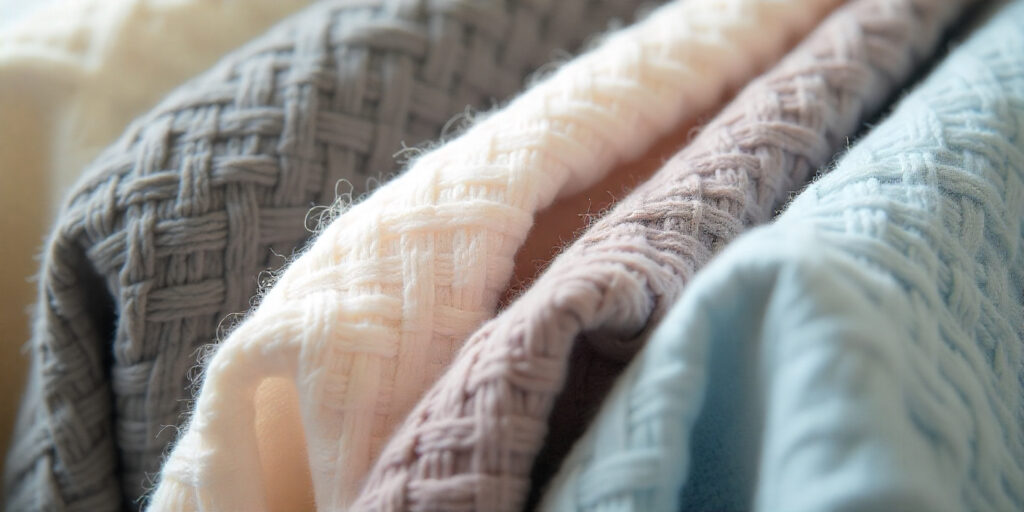
Fabric choice changes everything. 100% cotton takes bleach predictably and softens nicely. Ring-spun cotton feels smoother and shows finer gradients. Blends behave differently, so test before you commit on a cotton-poly blend or tri-blend fabric.
Polyester doesn’t bleach the same way. Expect lighter contrast and potential warmth or odd tones on high-poly shirts. If you use blends, keep exposure short, rinse fast, and neutralize thoroughly. Most wins happen on cotton jersey and 100% cotton.
Weight matters too. Heavier tees handle processes better and stay durable. Lighter jerseys fade briskly but can feel flimsy if overprocessed. For balance, a midweight ring-spun cotton or heavyweight tee works well.
Color also influences results. Black and deep navy give you classic gray fades. Heather tees show texture within texture because of mixed fibers. Adjust timing and dilution for tri-blend fabric, cotton-poly blend, and cotton jersey to keep things soft and even.
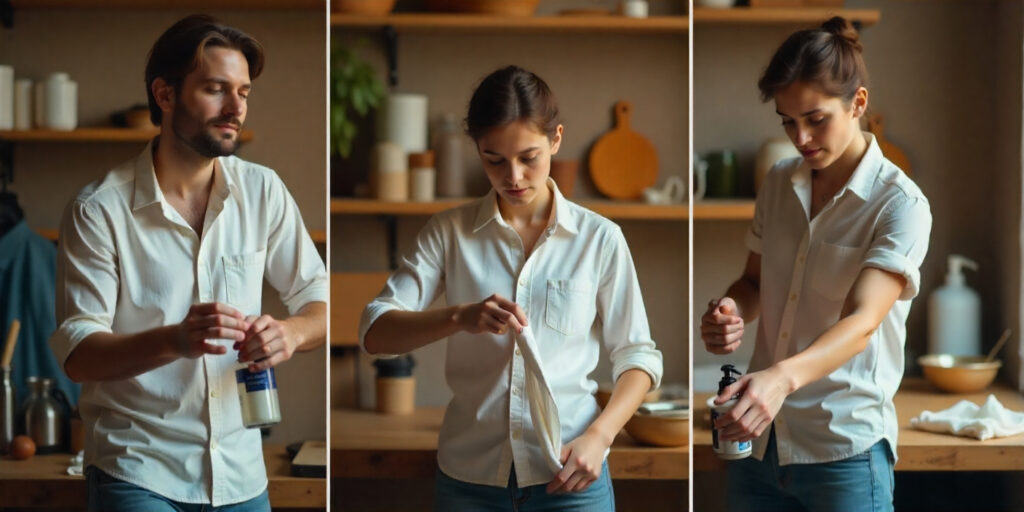
Set up your space: safety, ventilation, and a no-mess workflow
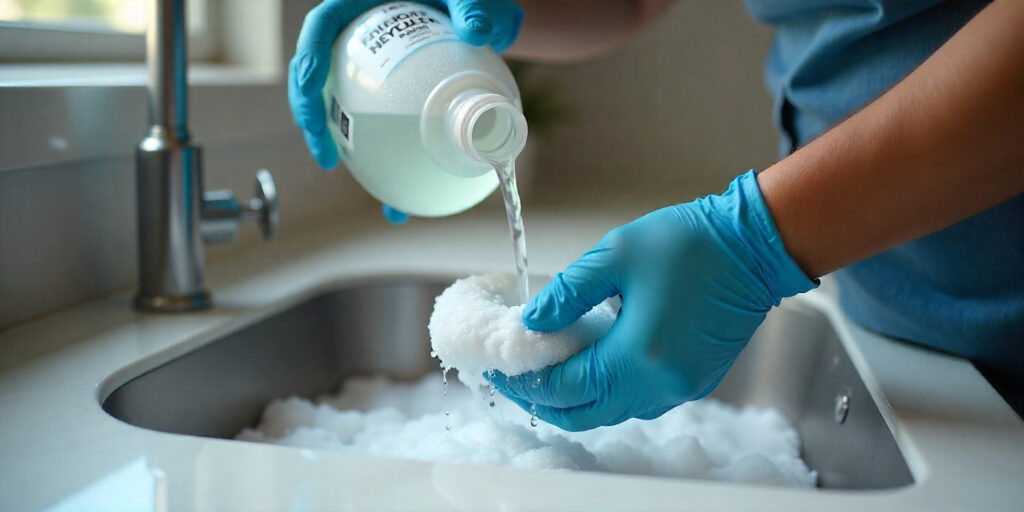
Create a safe, organized zone before you mix anything. Use strong ventilation, a plastic drop cloth, and a dedicated table or bin area. Wear nitrile gloves and safety goggles every time you handle chemicals.
Keep your chemicals separate and labeled. Never mix ammonia and bleach. Have a neutralizer ready and water access nearby. A clean workflow keeps you calm and fast. If needed, use a respirator mask and stronger ventilation.
Lay out a clear path fix, apply, dwell, neutralize, wash, wash, dry. Work in small batches until you get harmonious. Keep an eye on the timepiece to control dwell time. Keep your plastic drop cloth, nitrile gloves, and safety goggles within reach.
Stay mindful of pets, kids, and splashes. Wear old clothes and shoes. Wipe spills quickly. The right setup turns a messy job into a smooth routine with safe ventilation, reliable nitrile gloves, and a simple respirator mask if needed.
Tools that make the job easy: bottles, bins, bleach, and backups
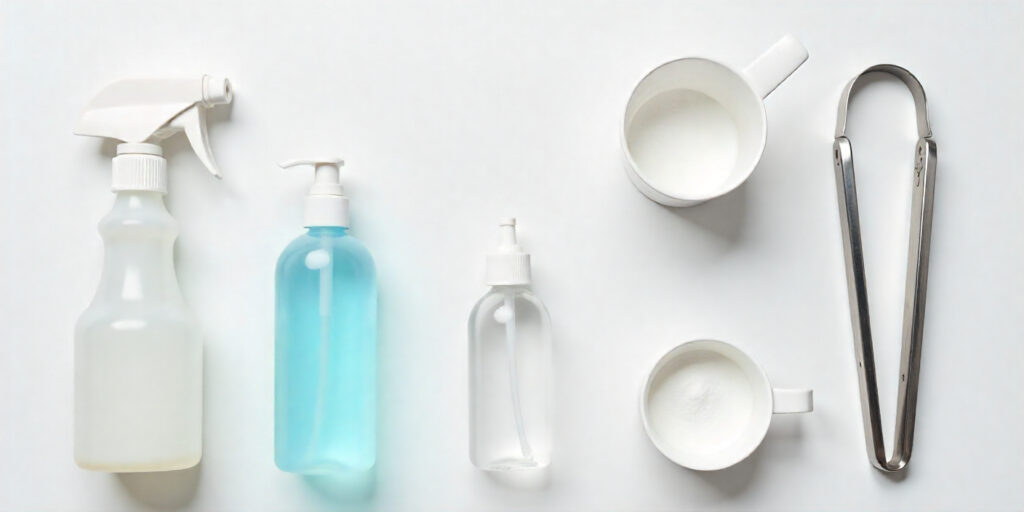
You don’t need fancy gear. A spray bottle, squeeze bottle, and a bucket handle most methods. Use a measuring cup for accurate ratios and a timer to track dwell time precisely.
Keep a bottle of hydrogen peroxide ready to stop the reaction. Regular household bleach works for the process. Label everything to avoid mix-ups. Stainless tongs help move shirts cleanly from bath to neutralizer.
Have backups in case of clogs or breaks. A second spray bottle or squeeze bottle saves time during batches. Keep towels and paper nearby for quick cleanups. Extra bins make bucket workflows clean and separate.
If you scale up, add more bins, racks, and timers. Consider a small pump sprayer for speed. Whatever you choose, consistent tools and a reliable timer, accurate measuring cup, and fresh hydrogen peroxide ensure repeatable results.
Prewash and colorfast checks that prevent surprises
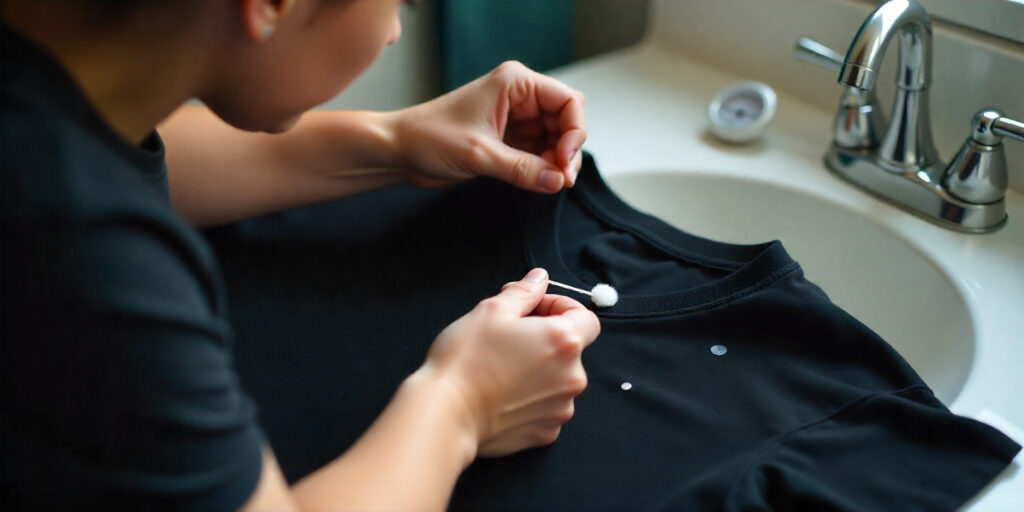
Always prewash to remove sizing and oils that block even fading. It improves immersion and keeps patterns from appearing patchy. After drying, do a quick patch test on a hidden spot.
Wet down a cotton tar with adulterated bleach and dab a bitsy area. Watch the color shift for a nanosecond or two. Rinse it, then neutralize. This predicts behavior and helps you choose a safe dilution ratio.
Test for colorfastness on printed areas and seams. Some inks can bleed weirdly under bleach. If you see issues, mask the print or switch techniques. Finish with a gentle rinse cycle to clear any residues.
These tiny checks save shirts and headaches. They also teach you how different colors respond. Make prewash, patch test, and colorfastness checks your non-negotiables before every project.
How to mineral wash t shirt at home (start-to-finish overview)
Then’s the simple workflow utmost people follow. Scrunch or fold your shirt, apply a adulterated result, stay compactly, also neutralize, wash, and marshland. This section uses the exact phrase to satisfy search intent: how to mineral wash t shirt at home and the broader term how to mineral wash t-shirt.
Start with a 1:3 bleach-to-water mix for dark cotton. Mist or dip, then watch the shift. When you hit a smoky gray, stop the reaction in a peroxide bath. This is the heart of a mineral wash t shirt tutorial and a straightforward mineral wash t-shirt technique.
Rinse thoroughly and wash cold with a color catcher. Dry flat or low heat. Repeat a second light pass if you want a touch more contrast. It’s an easy DIY mineral wash t-shirt method that works.
If you’re brand-new, try a thrift tee first. Take photos of each step to build your playbook. The more you document, the faster you’ll master how do you mineral wash a shirt with consistency.
The scrunch-and-spray method for a cloudy wash
Scrunch the shirt into a loose puck. Secure with two or three clips if needed. Lightly mist with a bleach dye solution for a soft, cloudy look that feels like reverse tie-dye without hard rings.
Rotate the puck and mist again for balance. Keep distance consistent for even speckles. This builds a natural marble vibe. It’s perfect when you want the cloud dye aesthetic with gentle transitions and minimal bleach splatter.
Watch the color shift and stop early. You can always add more contrast later. Dip the puck into peroxide or unroll and neutralize in a bin. This keeps the marble effect smooth and wearable.
Rinse and wash cold after neutralizing. Dry flat for less stress on fibers. Scrunch-and-spray is fast, forgiving, and great for beginners exploring a subtle bleach dye and reverse tie-dye feel.
The dip-and-dwell method for an even fade

Submerge the shirt in a controlled bath for an overall fade. Start mild and short. This creates an even wash that reads “worn-in,” not tie-dye. Set a timer to control dwell time.
A good starting mix is 1:3 bleach to water for black cotton. Swirl gently to avoid creases. Lift and check often. When the shade looks right, switch to neutralization with peroxide.
This is ideal for base layers and clean, uniform looks. It also preps tees for printing. Keep your bath consistent across shirts. That makes batching easier in a small bleach bath setup.
Finish with a thorough wash and a cold wash.However, you can spot- wash after drying, If you want further depth. Dip-and-dwell is your go-to dip-dye approach for repeatable, even results.
Controlled splatter for soft high–low texture
For a soft speckle, flick diluted bleach from a brush or use a strainer. Keep the droplets tiny and random. This builds a gentle speckle pattern that still reads “mineral.”
Mask areas with a light stencil resist if you want negative space. Add fine lines using a bleach pen, then blend with a mist. You’re aiming for controlled variation and organic texture.
Avoid flooding the fabric. Work in passes and step back between rounds. Speckling pairs well with an accordion fold on the hem or sleeves to frame the pattern subtly.
Neutralize promptly to protect fibers. Rinse well and wash cold. If you overdo it, a light overdye can soften contrast while keeping the speckle pattern intact.
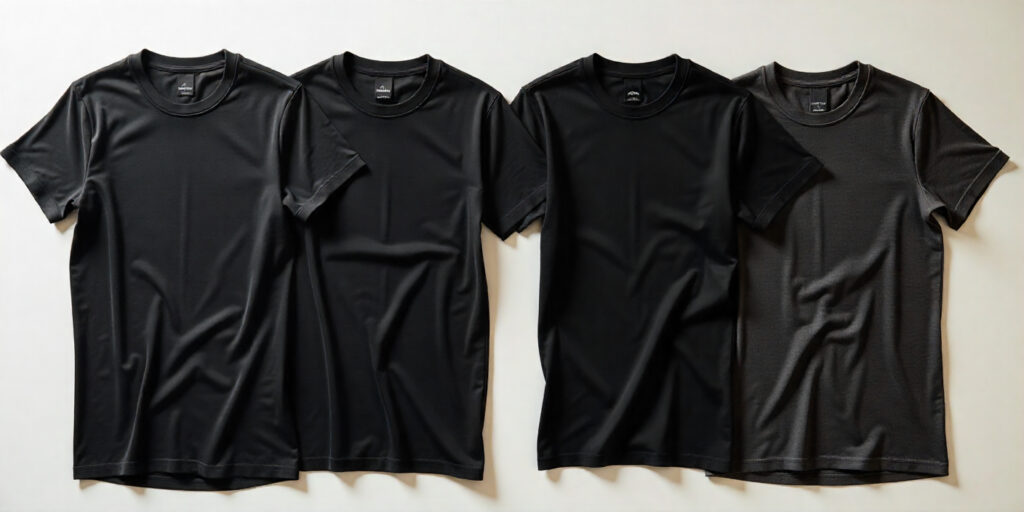
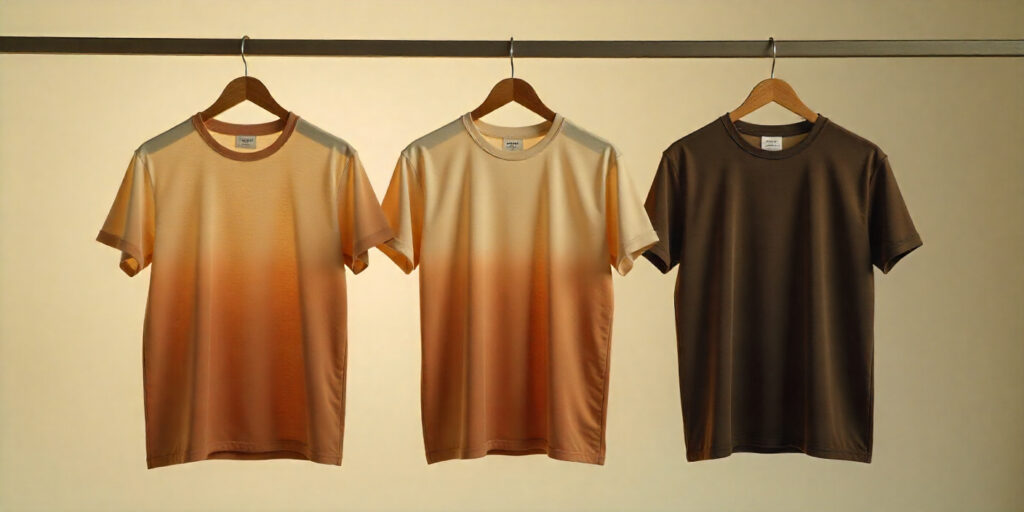
Keep black tees gray, not orange: dilution, dwell, and neutralizing
Black fabrics sometimes shift warm or rusty. Go slow, check often, and stop early. Aim for a gray fade. This is the best path for how to mineral wash a black t shirt without weird tones.
Short exposures help. Use cool water and fresh bleach. Neutralize immediately to halt color shift. If you overshoot, you can try a gray overdye for how to fade a black t-shirt to gray evenly.
Watch for the first signs of warmth and stop. Peroxide bath immediately, then rinse cold. Add a color catcher in the wash. This reduces a black tee turning orange after bleach.
If yellowing appears, run a second neutralizer round. Use gentle detergent and skip heat. These steps reduce yellowing and keep your black tees charcoal and clean.
Bleach-free routes: color remover, enzyme wash, and tea dye
Some fabrics don’t love bleach. Try color remover for even reductions without harsh edges. It’s slower but safer. For a soft hand, experiment with an enzyme wash bath.
You can also tint with tea or coffee dye for warm, antique tones. It pairs nicely with pre-fading from washes and sun. These mineral wash without bleach methods are gentle and repeatable.
Results vary by brand and color. Always test a small piece first. Adjust time and temperature to avoid streaking. Follow manufacturer directions for color remover and enzyme wash closely.
Finish with a cold rinse and mild detergent. Air dry to protect fibers. Bleach-free methods are great for blends and prints you want to preserve with a vintage tone.
Stop the reaction on time: hydrogen peroxide rinse rules

Neutralizing isn’t optional. Use hydrogen peroxide in water to stop the reaction instantly. It locks the color where you want it and protects fibers.
For stronger projects, add sodium thiosulfate (bleach neutralizer) per label directions. This helps for heavy washes or batch work. The goal is to fully neutralize bleach fast.
Move from bleach to neutralizer quickly. Agitate gently for full coverage. If you can’t neutralize immediately, at least rinse in cold water first to stop bleach reaction on fabric.
After neutralizing, rinse thoroughly, then wash cold. Skipping this step causes continued fading, odor, and damage. Make hydrogen peroxide your standard practice.
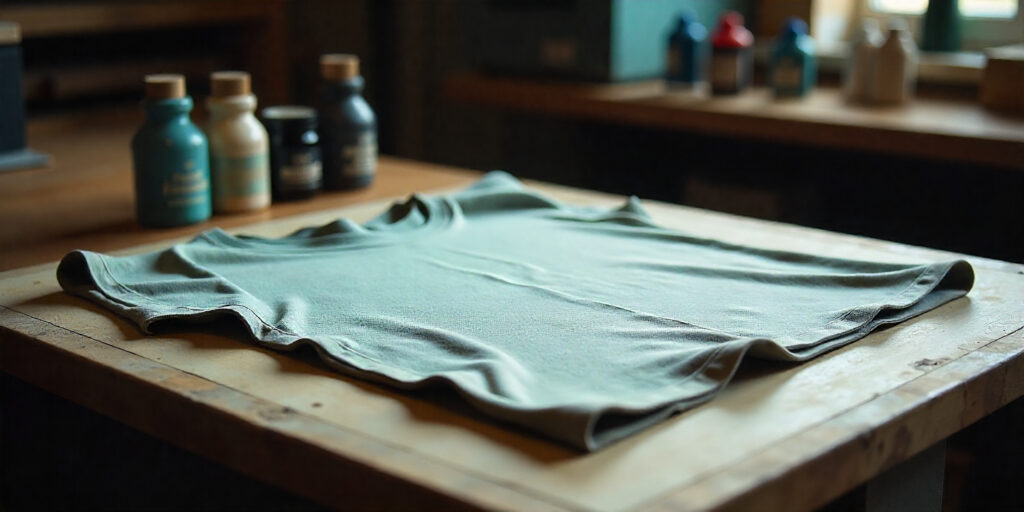
Aftercare that locks in color and softness
Wash on a cold water wash with a gentle cycle to protect fibers. Use a color catcher sheet for safety. Mild laundry detergent keeps hand-feel soft and clean.
Air dry flat whenever possible. Or tumble air dry or low heat to reduce stress. Heat can shift tones and shrink fabric after processing. Treat your tee gently.
If a shirt feels stiff, add a fabric softening round or extra rinse. A small bit of conditioner can help. Over time, regular washing improves softness while preserving the look.
Keep processed tees separate the first wash. This minimizes transfer. With careful gentle cycle, cold water wash, and air dry, your finish will stay fresh longer.
Pattern play that still reads “mineral”: marble, ombré, swirl
Marble comes from tight scrunching and light misting. Keep your distance consistent for soft clouds. It’s subtle and wearable, a great alternative to loud tie-dye. Try a light ombré fade on the hem for dimension.
Swirl patterns can still feel mineral if you keep contrast low. Loosen the spiral and use diluted mix. A careful swirl with short dwell time looks modern and minimal.
Add a small bullseye fold behind the neck for a halo effect. Keep it faint so it reads texture, not graphic. You can layer a marble dye effect with bleach over a base fade for depth.
For darker tees, consider a muted reverse tie-dye approach. Spray lightly and stop early. The goal is tone-on-tone texture that still feels like mineral, not full tie-dye.
Working around logos and prints without damage
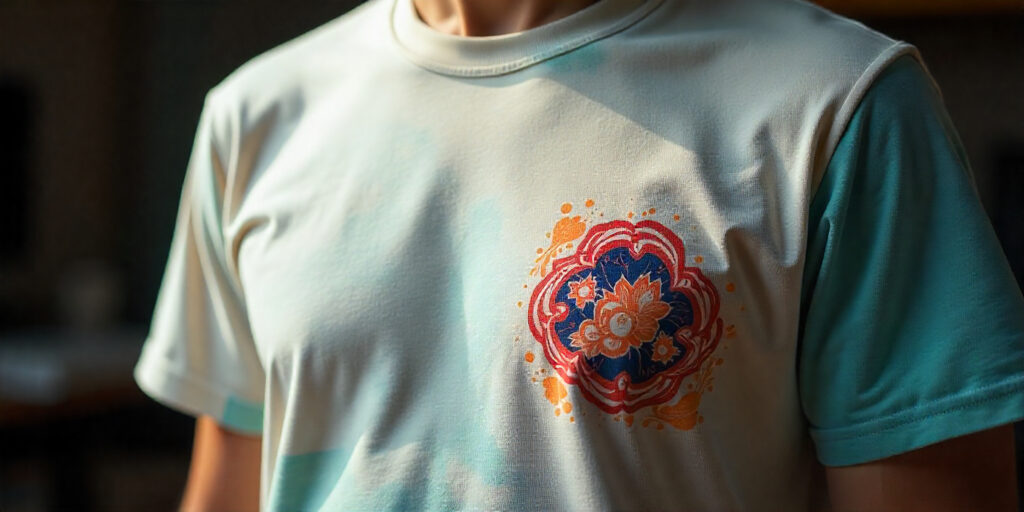
AI image prompt: Tee with screen-printed chest logo masked with plastic resist while bleaching around it, tape and stencil visible, precise handwork, macro detail, 4k
Cover graphics with plastic wrap or tape. That’s the simplest resist technique. Mist or dip lightly around the logo, not over it. This is the safest approach to bleaching around screen prints safely.
If a print is vintage or thin, stay external with spray only. Avoid pressure that forces liquid under the mask. Low contrast feels intentional and protects ink.
Let the masked area dry before removal. Neutralize first so nothing creeps under. Heat setting comes after washing. Always heat set a new print only when the fabric is fully dry.
If you plan to print later, keep contrast mild. Printers prefer a soft, even base. You’ll get crisper results if you treat the wash like a background for future screen printing.
Rescue fixes for blotches, streaks, and crunchy fabric
Blotches happen. Blend them by misting water first, then adding a very light bleach mist to the edges. Work gently and stop early. You can also try fixing over bleached t-shirts with a light gray overdye.
Streaks come from creases or uneven saturation. Re-wet and lightly rework just the streak area. Keep the hand moving and check often. Aim for how to achieve uniform faded tone rather than perfect symmetry.
Crunchy fabric means overexposure or residue. Rewash with mild soap and conditioner. Add a ginger wash if demanded. These steps soften a stiff t-shirt without losing pattern.
If the shirt is too light overall, overdye with a gray or muted tone, then wash again. Neutralize thoroughly if you touch bleach again. A little patience goes a long way when using peroxide to stop bleaching and reset your baseline.
Color-specific tips for navy, maroon, heather, and more
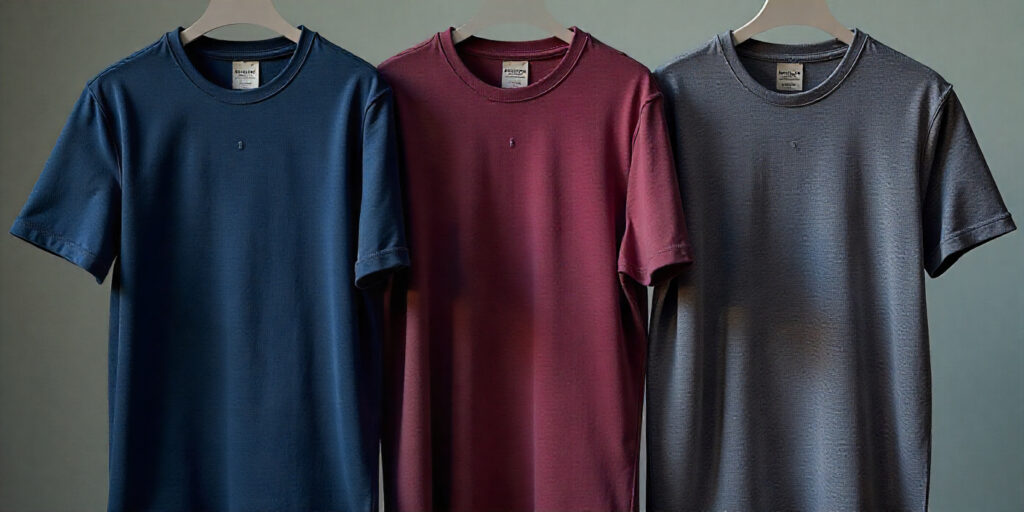
Navy turns smoky and cool easily. Start mild and keep it short. Maroon can go rusty, so watch closely and stop early. Heather shirts already have texture, so keep patterns simple.
Forest and deep green can show yellowing. Use cool water and quick neutralization. If tones lean warm, a gray overdye evens them out. That’s the safest route for mineral wash on colored shirts.
For navy, aim for a gray mineral wash effect on navy tees with gentle passes. For maroon, a soft, earthy look works well. Keep warmth minimal for a premium feel.
Document results by color and brand. Consistency is key if you plan to sell. Over time, you’ll build recipes for brown mineral wash effect on maroon tees and every colorway you love.
Scaling your setup for small-batch brands and makers

Batching saves time and money. Standardize dilution, timing, and neutralization across a set. Track your cost per tee and waste. This builds predictability and profit.
Invest in racks, extra bins, and labeling. Pre-tag sizes and colors. Take notes on each batch for repeat orders. Consistency is your edge with batching and quality checks.
Choose reliable blanks. Explore mineral wash t shirt blanks or start with solid high-cotton tees. Consider mineral wash t-shirts wholesale if you’re scaling, and test brands like colortone mineral wash for reference.
Offer ranges: black, navy, and seasonal colors. Add upsells like mineral wash t shirt womens fits or a mineral wash t shirt dress cut. Keep operations simple while you grow consistency and capacity.
Printing after the wash: screen, DTG, and heat transfer
Printing loves a soft, even base. Keep contrast moderate and avoid crunchy areas. After washing and drying, press the shirt flat before printing. It sets you up for clean DTG printing or screen ink.
Use low-bleed inks and proper curing ink temps. Wash-tested settings matter. Don’t overheat fabric that’s been processed. After printing, let it rest before folding or bagging.
Heat transfers and vinyl can work too. Use a calibrated heat press and test first. Texture under vinyl can affect adhesion. Smooth zones give better results with print-friendly blanks.
If in doubt, print first, then wash lightly. But that changes the look and requires practice. Most small brands find it easier to wash first, then do DTG printing or screens for reliability.
Troubleshooting smells, yellowing, and fiber wear
Bleach smell lingers if the response is n’t completely stopped. Neutralize fully, wash well, and wash with mild soap. Add white vinegar to the rinse to help with lingering odors and removing bleach smell from clothes.
Yellowing comes from warmth or overexposure. Keep temps low and dwell short. Run a second peroxide bath if needed. A pinch of baking soda in the wash can help stabilize smell and color.
Watch for fabric degradation over repeated processing. Treat shirts gently and avoid harsh heat. However, gauge back exposure and add a quieter round, If filaments look stressed-out.
Store shirts dry and clean. Don’t stack damp tees. With good care and full neutralization, you’ll avoid yellowing and lingering odor while keeping the fabric strong.
Conclusion
If you’ve been figuring out how to achieve that soft, worn-in finish and wondered how to mineral wash t shirt, you’re set now. You know how to balance dilution and dwell, when to neutralize with hydrogen peroxide, and what to do if yellowing creeps in.
You can compare mineral marshland vs acid marshland confidently and pick the right fabrics like 100 cotton or cotton jersey. You’ve got methods for reverse tie-dye, gentle bleach dye, and even bleach-free options like color remover.
You understand how to protect screen prints with a resist technique and finish with a cold water wash on a gentle cycle. You can keep black tees gray, avoid a black tee turning orange after bleach, and reduce yellowing with the right aftercare.
With simple tools and a repeatable workflow, your results will look curated, not cooked. Now go make a favorite you’ll actually wear.
FAQ’s
How is mineral washing done?
I prewash, then use a 1:3 bleach to water (sodium hypochlorite) mix with the scrunch technique or a quick dip-dye, watching dwell time for that cloudy mineral wash.
I neutralize with hydrogen peroxide (neutralization), rinse cold, then gentle cycle and air-dry—basically a controlled bleach dye.
What is mineral washed fabric?
To me, mineral washed fabric is cotton (often cotton jersey, ring-spun cotton) treated for a soft hand and cloudy highs/lows—modern vintage wash vibes.
Brands may use enzymes or garment dyeing, while DIY mimics it with diluted bleach (not true acid wash or stone wash).
How to make a shirt look vintage faded?
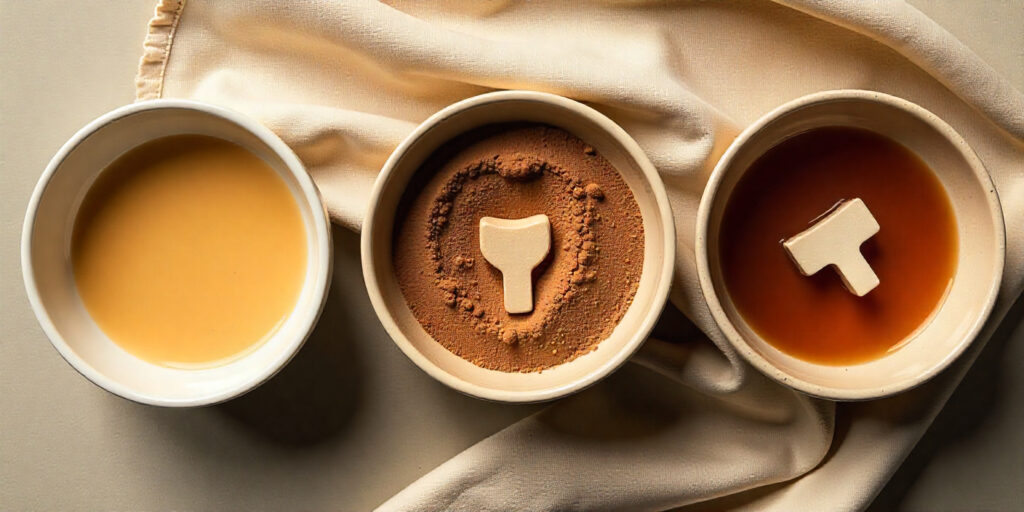
I go subtle: repeated cold washes, a short enzyme wash, or a light 1:4 bleach dye mist on 100% cotton, then hydrogen peroxide to lock it.
For tone, try tea or coffee dye, a gray overdye, or gentle sandpaper abrasion on hems/collar for that lived-in vintage wash.
How to stone wash a shirt at home?
My home hack: run a tee in the washing machine with bagged pumice stones (or tennis balls), a towel, and an enzyme wash detergent on a cool gentle cycle.
Skip bleach (that’s closer to acid wash); if you reduce color at all, neutralize and rinse like above.